A malfunctioning headlight can be more than just an inconvenience; it's a safety hazard. Driving with a burnt-out headlight significantly reduces visibility, especially at night or in inclement weather, increasing the risk of accidents. Thankfully, replacing a headlight on a 2012 Jeep Grand Cherokee is a relatively straightforward task that most owners can accomplish with basic tools and a little patience. This comprehensive guide will walk you through the entire process, ensuring you can safely and effectively restore your Grand Cherokee's illumination.
Why is Changing Your Headlight Important?
How to Change a Headlight on a 2012 Jeep Grand Cherokee: A Step-by-Step Guide
Besides the obvious safety implications, a functioning headlight is often a legal requirement. Many jurisdictions mandate that all headlights are operational, and driving with a burnt-out bulb can result in a ticket. Replacing a faulty headlight promptly ensures your compliance with the law and, more importantly, keeps you and other drivers safe on the road. It also prevents further damage to the headlight assembly caused by moisture or debris entering through the burnt-out bulb.
Section 1: Gathering Your Tools and Materials
Before you begin, gather the necessary tools and materials. This will streamline the process and prevent frustrating interruptions.
- New Headlight Bulb: This is the most crucial element. Consult your owner's manual or an online parts retailer to identify the correct bulb type for your 2012 Jeep Grand Cherokee. Common options include halogen, LED, or HID (High-Intensity Discharge) bulbs. Ensure you purchase a bulb that matches the existing type. Using an incorrect bulb can damage the electrical system or the headlight assembly.
- Gloves: Wearing gloves protects your hands from dirt and grease. More importantly, it prevents oil from your skin from contaminating the new bulb. Oil can create hot spots on the bulb's surface, significantly shortening its lifespan.
- Socket Wrench or Nut Driver: A socket wrench or nut driver with a 10mm socket (or the appropriate size for your specific model) is typically needed to remove the fasteners securing the headlight assembly.
- Screwdriver (Phillips Head or Flat Head): Depending on your Grand Cherokee's configuration, you might need a screwdriver to remove or adjust certain components.
- Flashlight or Headlamp: Adequate lighting is essential for working in the engine bay, especially if you're performing the replacement at night or in a dimly lit garage.
- Optional: Plastic Trim Removal Tool: This tool can be helpful for gently prying away any plastic trim pieces without causing damage.
- Optional: Work Gloves: Protect your hands from scratches and cuts.
Section 2: Safety Precautions

Safety should always be your top priority when working on your vehicle.
- Disconnect the Battery: Before working on any electrical components, disconnect the negative (-) terminal of your car battery. This will prevent accidental electrical shocks or short circuits. Use a wrench to loosen the nut on the negative terminal and carefully remove the cable.
- Allow the Engine to Cool: If you've recently driven your Grand Cherokee, allow the engine to cool down completely before beginning the headlight replacement. This will prevent burns from hot engine components.
- Work in a Well-Ventilated Area: If you're working in a garage, ensure it's properly ventilated to avoid inhaling any fumes or dust.
- Wear Eye Protection: Safety glasses or goggles will protect your eyes from dirt, debris, and potential splashes of fluid.
- Avoid Touching the Bulb's Glass: As mentioned earlier, touching the glass portion of the new headlight bulb can significantly reduce its lifespan. Always handle the bulb by its base.
Section 3: Accessing the Headlight Assembly
The procedure for accessing the headlight assembly on a 2012 Jeep Grand Cherokee can vary slightly depending on the specific model and trim level. However, the general steps are as follows:
- Open the Hood: Locate the hood release lever inside the cabin, typically under the dashboard on the driver's side. Pull the lever to release the hood latch. Then, locate the secondary hood latch under the front edge of the hood and release it to fully open the hood.
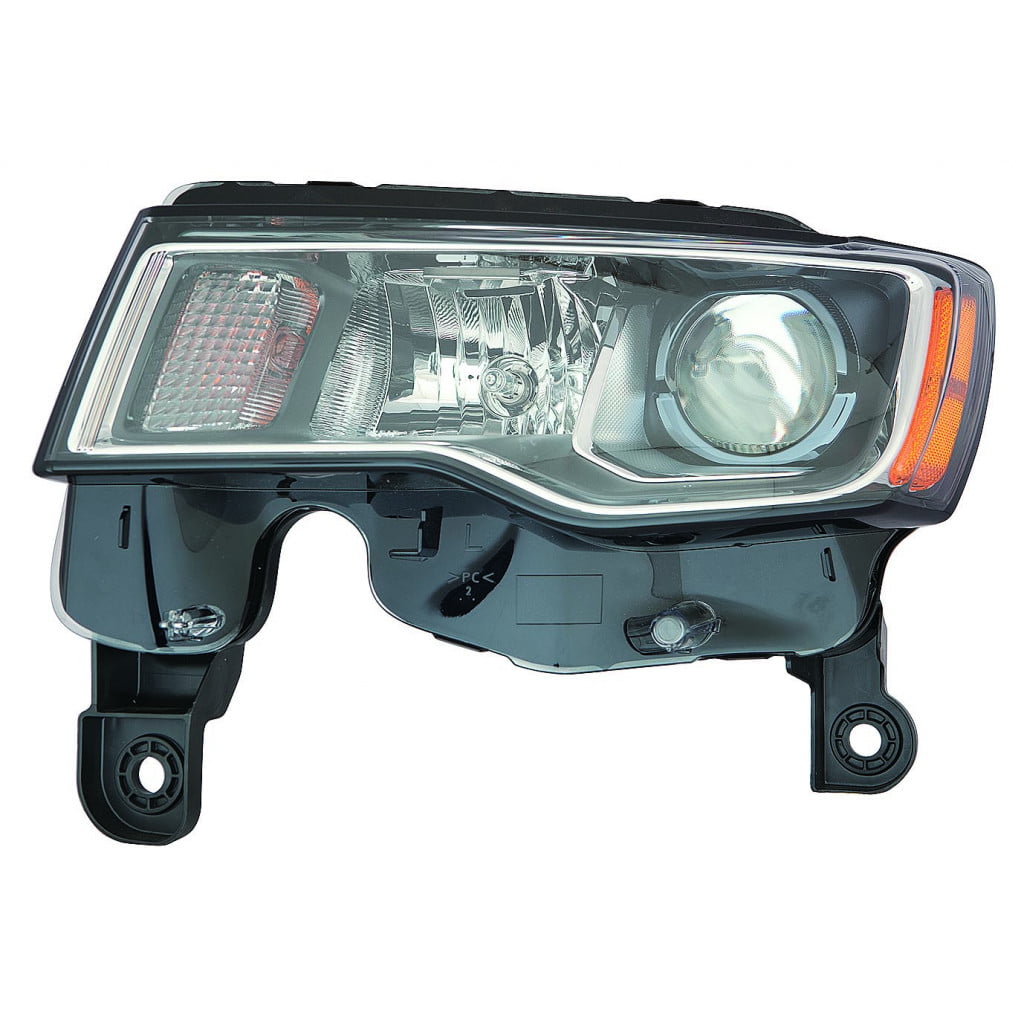
- Locate the Headlight Assembly: The headlight assemblies are located at the front of the vehicle, on either side of the grille.
- Remove the Retaining Fasteners: Examine the area surrounding the headlight assembly. You'll likely find several bolts or screws securing it in place. Use your socket wrench or nut driver (typically a 10mm socket) to carefully remove these fasteners. Keep track of the fasteners as you remove them so you can easily reinstall them later.
- Detach Any Wiring Connectors: Before you can fully remove the headlight assembly, you may need to detach any wiring connectors attached to it. These connectors usually have a locking mechanism that you'll need to release. Gently press the locking tab and pull the connector away from the headlight assembly. Do not force the connector; doing so can damage it.
- Carefully Remove the Headlight Assembly: Once all the fasteners and connectors have been removed, you should be able to carefully remove the headlight assembly from the vehicle. Wiggle it gently if needed to loosen it.
Section 4: Replacing the Headlight Bulb
Now that you have access to the headlight assembly, you can replace the bulb.
- Locate the Bulb Housing: On the back of the headlight assembly, you'll find a bulb housing with a cover or retaining clip.
- Remove the Cover or Retaining Clip: Depending on the design, you may need to twist off the cover or unclip the retaining clip to access the bulb.
- Remove the Old Bulb: Carefully remove the old bulb from the socket. Avoid touching the glass portion of the bulb. Some bulbs may have a retaining clip that needs to be released before the bulb can be removed.
- Install the New Bulb: Align the new bulb with the socket and gently push it into place until it clicks or locks into position. Ensure the bulb is properly seated. Do not force the bulb.
- Replace the Cover or Retaining Clip: Secure the bulb by replacing the cover or reattaching the retaining clip.
Section 5: Reassembling the Headlight Assembly
With the new bulb installed, it's time to reassemble the headlight assembly and reinstall it on your Grand Cherokee.
- Reconnect Wiring Connectors: Reattach any wiring connectors you detached earlier. Make sure they click into place securely.
- Reinstall the Headlight Assembly: Carefully align the headlight assembly with the mounting points on the vehicle and gently push it into place.
- Reinstall Retaining Fasteners: Reinstall the bolts or screws you removed earlier to secure the headlight assembly. Tighten them securely, but avoid over-tightening.
- Test the Headlight: Before closing the hood, reconnect the negative terminal of the battery and test the new headlight. Turn on the headlights and ensure both the low beam and high beam are functioning correctly.
Section 6: Final Checks and Adjustments
- Verify Headlight Alignment: After replacing the headlight bulb, it's essential to verify the headlight alignment. Misaligned headlights can blind oncoming drivers or reduce visibility. If necessary, adjust the headlight alignment according to your owner's manual or consult a professional mechanic.
- Clean the Headlight Lens: Clean the headlight lens with a clean cloth to remove any dirt or smudges. This will ensure optimal light output.
- Double-Check All Connections: Before closing the hood, double-check all connections to ensure they are secure.
Section 7: Troubleshooting
- Headlight Still Doesn't Work: If the new headlight bulb still doesn't work, check the headlight fuse. A blown fuse is a common cause of headlight failure. Consult your owner's manual to locate the headlight fuse and replace it if necessary.
- Headlight Flickers or Is Dim: If the headlight flickers or is dim, there may be a problem with the wiring or the headlight switch. Consult a professional mechanic to diagnose and repair the problem.
Price Table for Headlight Components (Approximate):
| Item | Price Range (USD) | Notes |
|---|---|---|
| Halogen Headlight Bulb | $10 - $30 | Standard option, relatively inexpensive. |
| LED Headlight Bulb | $30 - $100 | Brighter and longer-lasting than halogen. |
| HID (Xenon) Headlight Bulb | $50 - $150 | Very bright, requires a ballast. |
| Headlight Assembly (Complete) | $100 - $300+ | Required if the lens is damaged or the assembly is beyond repair. |
| Fuse (Headlight) | $1 - $5 | Inexpensive to replace. |
| Mechanic Labor (Headlight Replacement) | $50 - $150 | If you prefer professional installation. |
Frequently Asked Questions (FAQ)
- Q: How do I know which headlight bulb to buy for my 2012 Grand Cherokee?
- A: Consult your owner's manual or an online parts retailer. They will provide a bulb compatibility guide.
- Q: Can I upgrade to LED headlights?
- A: Yes, but ensure the LED bulbs are compatible with your Grand Cherokee's electrical system and headlight assembly. Some LED bulbs may require additional adapters or modifications.
- Q: How often should I replace my headlight bulbs?
- A: Headlight bulb lifespan varies depending on the type of bulb and usage. Halogen bulbs typically last 1-3 years, while LED bulbs can last much longer. Replace bulbs as soon as you notice they are dimming or failing.
- Q: What if I break a connector while removing it?
- A: Replacement connectors can be purchased at auto parts stores. Carefully remove the broken connector and install the new one.
Conclusion
Replacing a headlight on your 2012 Jeep Grand Cherokee is a manageable task that can save you money and ensure your safety on the road. By following this comprehensive guide, you can confidently tackle this repair and keep your Grand Cherokee shining bright. Remember to prioritize safety, use the correct tools and parts, and take your time to avoid damaging any components. A little effort can go a long way in maintaining your vehicle and ensuring a safe driving experience.